The Backbone of Your Honda Civic and City: Genuine Hood Rod Support Holder and Grommet Hood Open Stay
Introduction
Owning a Honda Civic or City means more than just having a reliable and stylish vehicle; it means being part of a community that values quality, innovation, and attention to detail. In this article, we're going to shine a spotlight on two often-overlooked yet vital components in your Honda Civic and City: the Genuine Hood Rod Support Holder and Grommet Hood Open Stay. These unsung heroes may not be as flashy as your car's exterior, but they play a crucial role in ensuring your vehicle's longevity, safety, and functionality.
The Genuine Hood Rod Support Holder: A Small Part with a Big Responsibility.
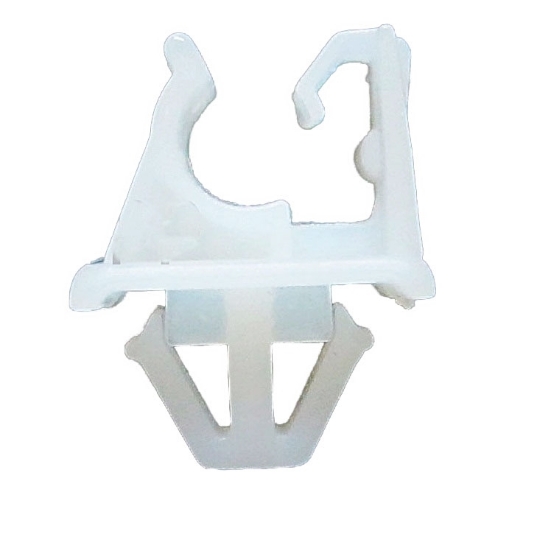
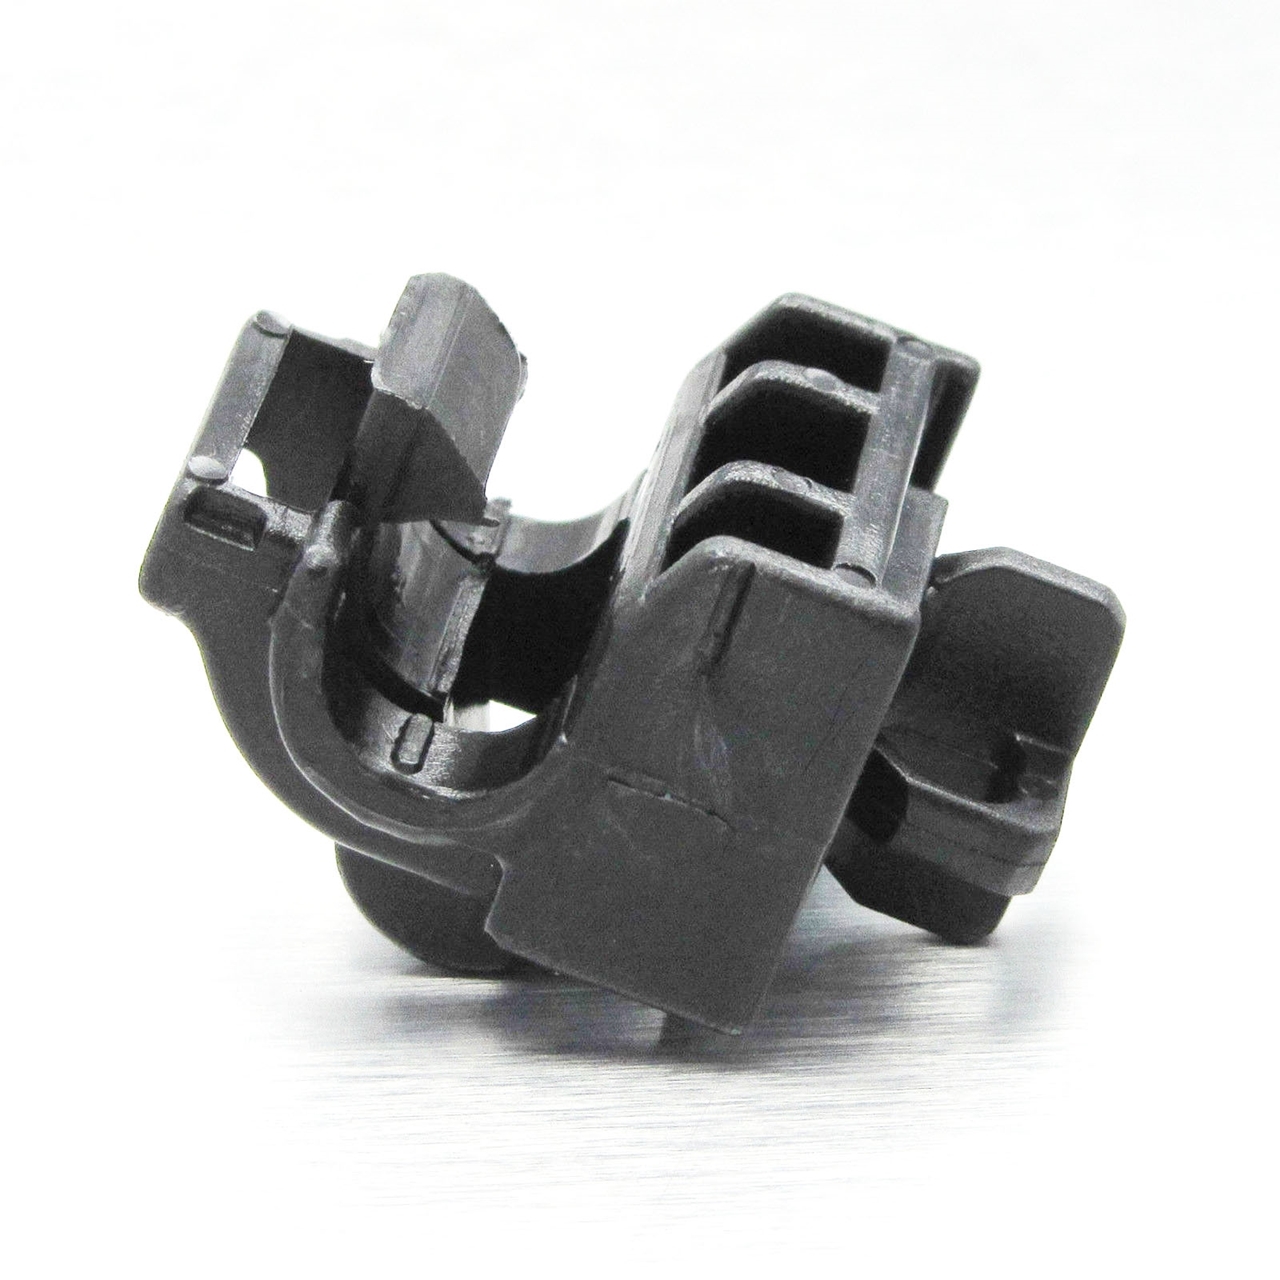
The Genuine Hood Rod Support Holder, also known as the hood prop rod, is a seemingly simple component with a significant role. Its primary function is to securely hold your vehicle's hood open, allowing easy access to the engine bay for maintenance and inspections. It might seem like a small task, but without it, you'd be left with limited and often unsafe options for propping open your hood.
The Importance of Regular Inspection and Replacement.
As with any part of your vehicle, the Genuine Hood Rod Support Holder is subject to wear and tear over time. To ensure your safety and convenience, it's essential to conduct regular inspections and, if necessary, replace this component. A malfunctioning or damaged hood rod support holder could lead to accidents or injuries when working under the hood. Replacing it is a relatively simple and cost-effective repair that can prevent potentially costly consequences.
The Grommet Hood Open Stay: Protecting Your Investment.
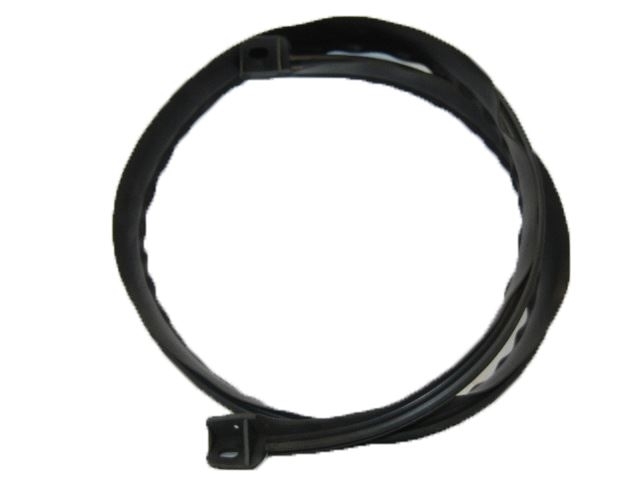
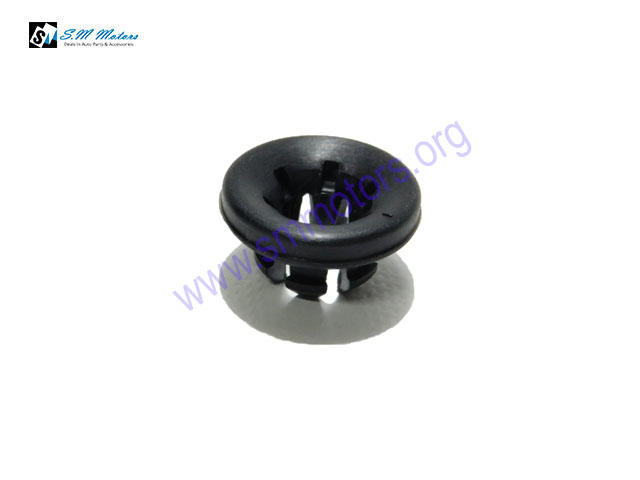
The Grommet Hood Open Stay, also known as a hood stay grommet or hood bump stop, is another often-underestimated component in your vehicle. This small rubber or plastic piece plays a critical role in cushioning the impact when you close the hood. It prevents the hood from making direct metal-to-metal contact with the body of your vehicle, reducing the risk of damage and preserving the overall structure and appearance.
The Unsung Benefits of Grommet Hood Open Stays.
- Safety: Grommet hood open stays ensure that your hood closes smoothly and without damaging the vehicle's body, preventing potential accidents or costly repairs.
- Longevity: Regular inspection and maintenance of these components can extend the life of your vehicle's hood, preventing rust and corrosion that can result from dents and scratches.
- Cost-Effective: Just like the Genuine Hood Rod Support Holder, replacing a worn-out Grommet Hood Open Stay is a simple and cost-effective repair compared to addressing the consequences of neglect.
Conclusion: Don't Underestimate the Small Parts.
In the world of vehicle maintenance and care, it's often the smaller, seemingly unremarkable components that make a world of difference. The Genuine Hood Rod Support Holder and Grommet Hood Open Stay are no exception. Regular inspections and timely replacements of these components ensure that your Honda Civic or City remains in top condition.
These unsung heroes work quietly behind the scenes, protecting your investment, and maintaining your vehicle's performance. They remind us that every part, no matter how small, plays a crucial role in the world of automotive care, and they deserve our attention and appreciation.
Honda Civic 2001-2005 ,Civic 2016-2023, BRV 2017-2023 , City 2022-2023 Genuine Hood Rod Clip Stay / Hood Rod Holder Black Color.
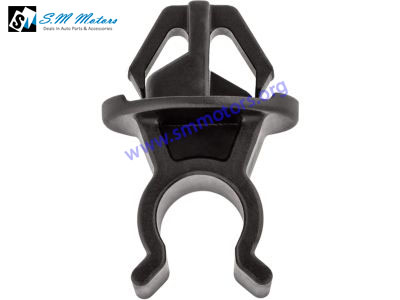
HOOD ROD CLIP HONDA CIVIC 2006-2015
Honda Civic 2006-2015 Genuine Hood Rod Clip Stay / Hood Rod Holder.