Tail Light Lens Replacement Cost?
It depends on the type of car you drive and the auto repair shop you go to.
| Car | Labor Cost | Parts Cost | Estimate | Average Back Light Price | Savings |
|---|---|---|---|---|---|
| Honda/Toyota | 200-400 Rs | 400-1500 Rs | 600-1900 Rs | 3000 Rs | 65% |

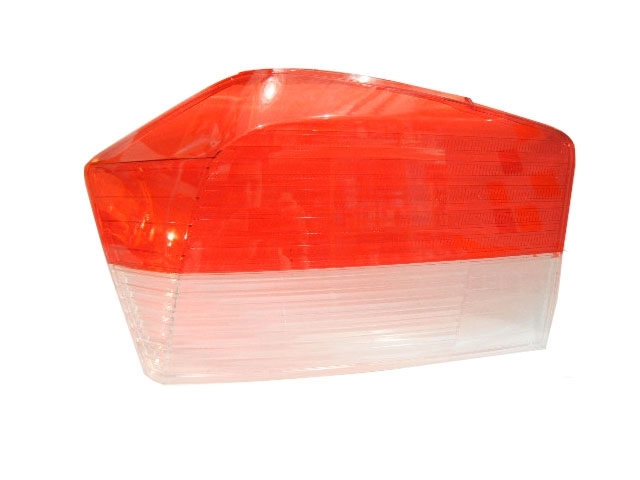
A tail light lens is the colored piece of plastic that covers the light bulb on a vehicle’s tail light. Different colored lights have different meanings, so it’s important that the proper lens cover the light bulbs, which emit white light. When white light shows through a broken or cracked tail light lens, people following the vehicle may not realize that a car is slowing or stopping. Mostly vehicles may have glass lenses.
What common symptoms indicate you may need to replace the Tail Light Lens?
- When a vehicle has a broken or missing tail light lens, other drivers may not realize that the vehicle is slowing down which can cause accidents.
- Broken tail light lens.
- Cracked tail light lens.
- Missing tail light lens.
Steps to Replace a Tail Light Lens
The following steps outline the procedure for replacing a tail light lens. While every make and model is different, drivers that tailor this process to their own car should be able to swap out their lens without a problem.
Step 1: Unscrew the Tail Light Assembly From Vehicle.
This step differs depending on the type of vehicle and the year in which it was built. For example, many cars, trucks, and SUVs built before 1990 have external screws on the tail lights that are easily identified from the outside. Modern vehicles typically have a more seamless look, and the screws are located underneath the hood on the car frame, in the interior of the car on the other side of the tail lights. Compact cars usually have screws in the trunk area, and on trucks, the screws are on the inside of the tailgate. Regardless of the type of vehicle, the first step is to locate the fasteners that hold the lens in place and unscrew them. This can be accomplished with a brief search around the tail light itself. Make sure to keep these screws in a safe place once they are removed.
Step 2: Remove the Bulb Sockets.
Remove the sockets from the back of the tail lights by twisting them counterclockwise. This should free the tail light assembly from the vehicle and prepare it for removal.
Step 3: Separate The Old Lens From The Assembly.
After inspecting the assembly and determining that the lens is the only damaged part, remove it from the rest of the tail light. On most vehicles, the lens is attached by several thumb nuts or small retaining screws and should pull away from the assembly freely once these are loosened.
Step 4: Insert The New Lens Into The Tail Light Assembly.
Carefully press the new tail light lens against the rubber gasket in the assembly and push it back into the mounting assembly on the rear of the vehicle. Tighten the retaining screws or thumb nuts to hold it in place.
Step 7: Secure The Assembly Into The Vehicle.
Tighten the screws and replace the bulb sockets on the back of the tail light assembly. Make sure to turn the sockets counterclockwise until they lock into place. If necessary, push the trunk trim back to its original position and then close the trunk.
Leave your comment